Let me take a guess, you have such a tremendous hectic daily schedule that you don’t even get a moment to heave a sigh of relief, if so then probably you have a very clear idea that how much tired and exhausted you can feel just after a whole long day’s work.
After completing the entire day’s work you feel so worn out that you can’t even think to go to a salon or a parlor to indulge your skin by giving it a chance to feel a refreshing and luxurious facial.
Yes, probably it’s too far-fetched or implausible for you but girl, the increasing environmental pollution, the constant surging of tension, stress are leaving its footprint on our life as well as skin and the most despondent thing is that repercussions are too obvious to ignore.
In such a scenario to protect your skin against all these ramifications, you have to be extra cautious regarding the nutrition and nourishment of your skin so that it can always feel replenished and rejuvenated.
And when the point of keeping your skin revived comes, what can be more potent and beneficial than a lavish facial which at the one hand will supply the adequate nutrition for your skin and on the other hand will refill your face with new energy and vibrancy?
Read Also: Facial Toners: Are The Myths True? Do You Really Need Them?
But, girl, no need to lose your sleep because you don’t have to stand in a queue in a parlor or a salon, instead you can do your facial at home with readily available ingredients, and trust me it will be as effective and powerful as a salon-facial done by professionals.
And the most satisfactory part is that the whole thing is not at all strenuous but is extremely effortless and painless, now grab a piece of paper and pen, ensconce yourself in a cozy corner of your room and let’s see how to do facial at home by yourself, without making any further delay:
Easy Steps On How To Do Facial At Home By Yourself
These are the 7 simple and easy steps to do facial at home for glowing skin:
1. Cleansing

While doing a facial, the foremost essential step is the cleansing without which the facial will not be at all fruitful and effective as the main job of cleansing is to cleanse and clear your skin from all the piled up dirt, grime, excessive oil and the applied make-up products so that your skin can be ready for the next steps.
If this cleansing is not done properly, the impurities will pose severe difficulties for your skin to undergo the successive steps.
How to do it:
If you have your make-up on, take a cotton pad, dab it in generous amount of your favorite micellar water and then gently wipe your skin with that cotton pad and don’t try to be excessive harsh otherwise your skin will get injured.
If you don’t own micellar water, get hold of some extra virgin coconut oil, get few drops of the oil to make the cotton pad wet and then slowly rub your face with that, after few seconds you will observe that the cotton pad is becoming dirty like hell as all your make-up products will come off and get deposited on the pad.
Now it’s time to rejoice some warmth as you have to rinse your face with some lukewarm water to prepare your face for applying a cleanser.
Pick a cleanser depending on your skin type (Cetaphil Cleanser is one of the best one), extract some small amount of that cleanser on your palm (the cleanser should be mild and organic), and then apply it to your face by gently massaging it in an upward motion.
After rubbing the whole face just for 30-35 seconds, open the tap water and flush out your whole face by splattering cool and freshwater. If you are looking for how to do facial at home, then cleansing is the very first step to turn your hands to.
Some useful tips:
If you want to steer clear of the loads of chemicals used in a face wash, take resort to natural ingredients that are far more safe and sound and will defend your skin almost against anything that can give rise to harm.
If you possess oily or combination skin, take few drops of fresh lemon, add milk or yogurt with it and use that as your facial cleanser to annihilate completely all those grime, dirt and impurities.
If you own severely dry and crusty skin, take 1-2 tablespoon of raw honey and massage that gently on your face for 30-40 seconds and then hose down your face thoroughly with cool water.
2. Exfoliation
After cleansing your entire face the second crucial step which you have to go around with is exfoliation that will help you to banish all the dead cells, impurities and excessive oil to unclog all the pores from deep within. And not surprisingly what you will acquire is clear, clean, soft and pliant skin free from crustiness and dead cells.
How to do it:
After thoroughly cleansing your face, choose an exfoliator that will perfectly go with your skin type and take a little amount of it on your palm, apply it to your face and massage it in a circular upward motion.
Don’t try to be extremely harsh otherwise the upper layer of your skin will be bruised or injured, but make sure to rub your skin gently by using your fingertips so that your face doesn’t feel the excessive pressure of your hands, then afterward rubbing your face for a minute or two, wash off your face with cold water.
Some useful tips:
Exfoliation is of utmost importance while doing a facial and this job can be done in a more beneficial and efficacious way when you will settle on nutritious, natural ingredients to prepare your own exfoliator.
If you are possessed with oily skin take 1-2 tablespoon of freshly ground coffee and same amount of yogurt, blend these two ingredients well and apply the mixture to your face and neck area to get luminous, crystal clear skin.
But if you have dry, dehydrated skin then take some amount of extra virgin coconut oil, sweet almond oil and brown sugar, mix these ingredients very well and gently rub your skin with the mixture to remove all the impurities and dry flakes.
If you have normal skin, go for some oatmeal and honey mixture to remove all the dead skin cells and it will expose the younger and radiant skin which remained hidden due to the piled up impurities.
3. Time To Get Some Face Massage
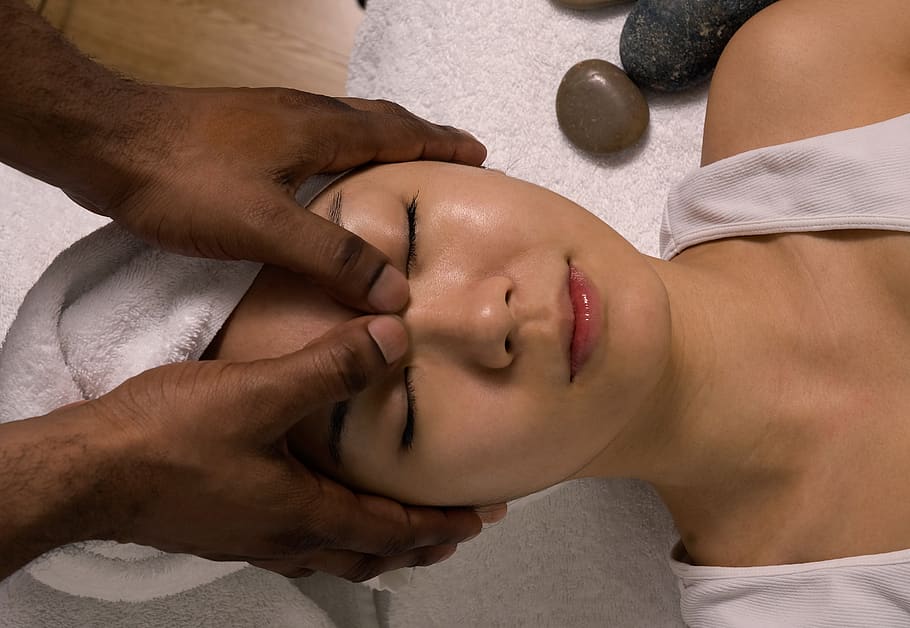
Your home facial will be incomplete without a healthy massage which will not only give you a luxurious, refreshed feeling but also improve the blood circulation and it also helps to maintain the elasticity and firmness of your skin.
If done properly and appropriately a face massage that is one of the most relaxing professional facial steps can tighten facial muscles, improve muscle tone only to bestow a replenished and rejuvenated look on you.
How to do it:
Take some amount of moisturizer on your hand and begin with your forehead by placing your knuckles between your eyebrows, start to drag the knuckles gently towards the hairline and then proceed towards the temples.
When this is done, massage your cheeks with your fingertips by following an upward circular motion, after this don’t slip the neck area which is also vulnerable, soft and needs some massage to retain its firmness.
Some useful tips:
To get a more revived and refreshing look use some essential oil instead of a moisturizer, if your skin is oily then go for tea tree oil or grapeseed oil, but if you have dry and thirsty skin settle on almond or coconut oil and if your suffer from acne-prone skin then trust some rosehip oil for facial massage.
4. Let’s Pamper Your Skin With Some Steam
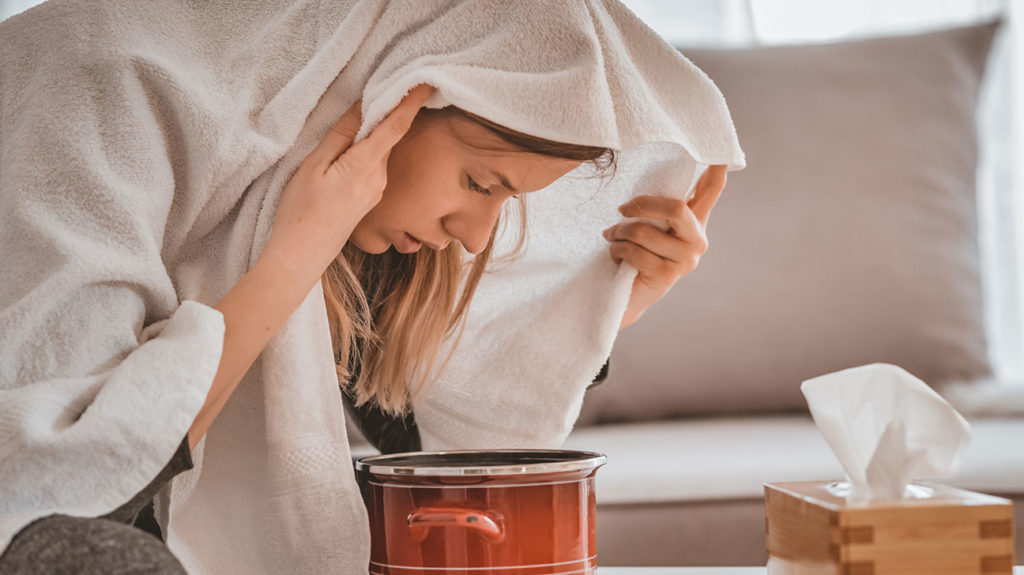
If you are searching for how to do facial at home for oily skin, then probably this is the step of supreme importance for you as steaming can do multitudes of wonder for oily skin beauties.
Not only for oily skin, but steaming is also very beneficial for almost every skin type as it makes the pores agape and loosens the blackheads and whiteheads so that these can be detached easily.
Apart from that, Steaming also augments blood circulation, makes skin breathe more oxygen and flushes out all the toxin and impurities which lay dormant beneath the surface of your skin.
How to do it:
Take some water in a huge pot which has a large circumference, boil it for some time, remove the pot from the oven, keep it at a stable place and then lean your face above the pot to make your skin soak the vapor generated from the water, don’t forget to take a towel with which you can cover your head so that the vapor can be trapped for some time.
Continue this for 10-15 minutes to get the maximum of the steaming and whenever you feel excessive heat, you can obviously breathe some cool air.
Some useful tips:
To rejoice the warmth and to get a soothing sensation, add some essential oils such as chamomile oil or lavender oil to the water before boiling so that you can relish the the same exotic feeling which you generally receive at a salon or a parlor.
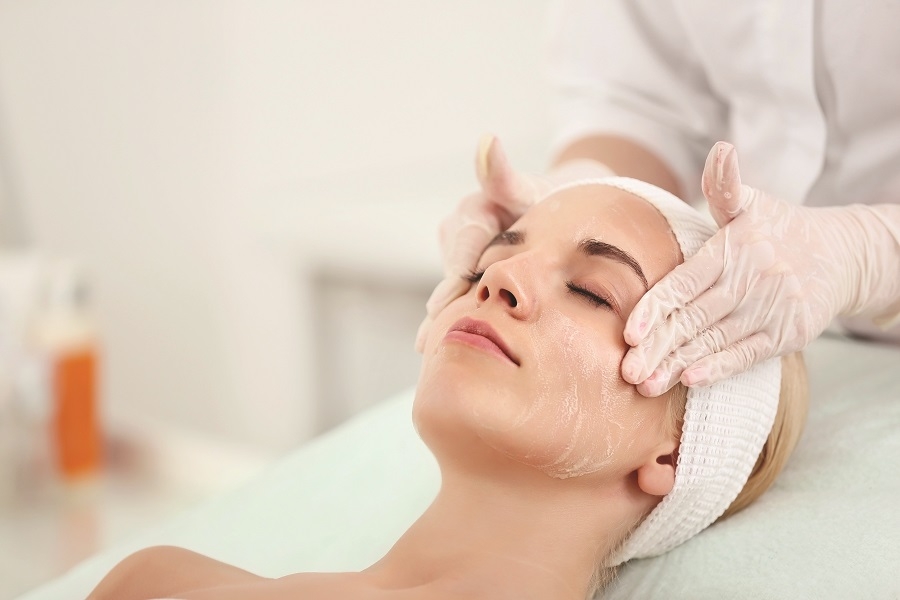
5. Apply Face Mask
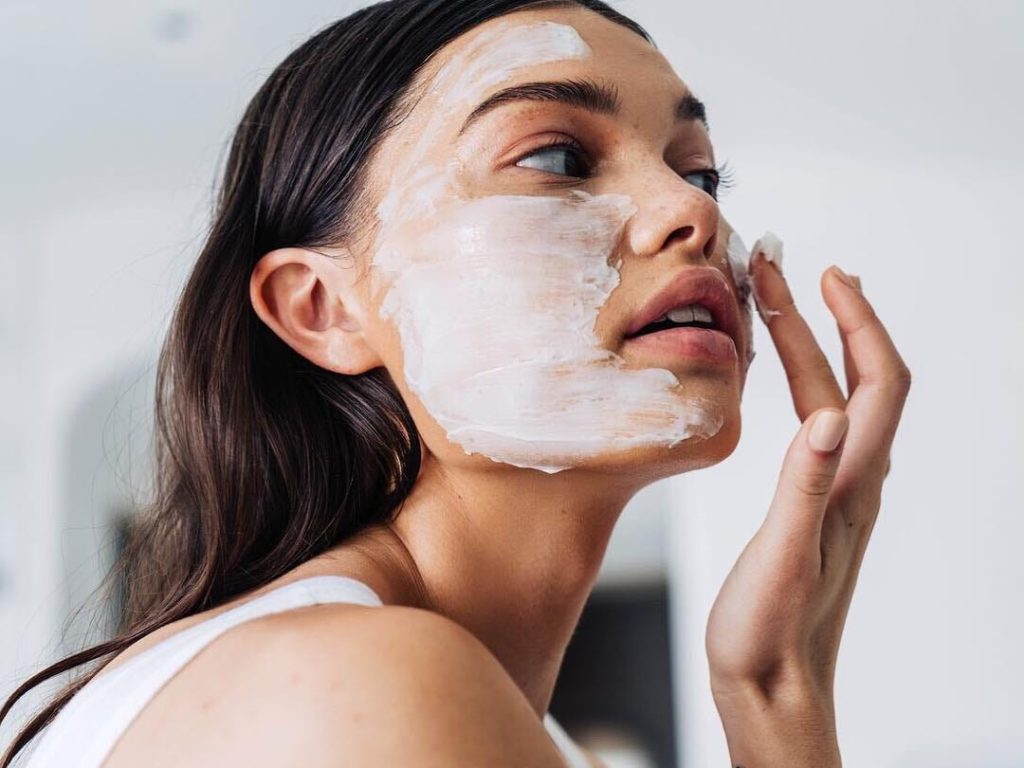
After the completion of steaming, all the pores will open and be unclogged and your face is prepared to absorb all the nutrients which you are going to provide through the successive stages.
A face mask has manifold benefits such as it moisturizes skin from within, supplies all the nutrients which your skin needs, nourishes skin, revamps the texture of the skin and gives a polished, supple effect.
How to do it:
At first choose a face mask which can address all the issues which you want to deal with, take 1-2 tablespoon of the readymade mask with a spatula, and spread that evenly on your entire face skipping the eye and mouth area.
Check Also: Top 10 Best Facial Kit in India for Women
Put two cucumber slices on your eye to give your eyes an invigorating and soothing feeling and relax for 15-20 minutes. When the mask becomes dry completely, rinse your entire face with normal water.
Some useful tips:
If you are doing a home facial for glowing skin, prepare a special mask by amalgamating lemon juice, turmeric and tomato juice to achieve luminous and bright skin.
If you have oily acne-prone skin, take 1-2 tablespoon of fuller’s earth and same amount of aloe vera gel, mix these well and apply it directly to your face to banish all the excess oil from your face.
But if you have dry skin take ½ mashed banana, honey and olive oil, mix all the ingredients very well and apply it to your face to nourish, hydrate your skin intensely. For whitening facial at home, this mask is very powerful and after applying it, definitely you will beam with a radiant, gleaming skin.
6. Toning

After removing the face mask, the most important part is that you have to ensure that all your pores are sealed so that any dirt and grime don’t get absorbed by your skin. This thing can only be done by a toner which removes all the remnants of the mask, tones the skin and locks the pores.
Check: Top 10 Best Face Toners in India for All Skin Type
How to do it:
Take a cotton pad, dab it with your preferred toner and wipe out your face, if the toner comes in a spray bottle, spray the toner all over your face and wait until it gets soaked completely.
Some useful tips:
If you don’t have a readymade toner, make your own toner by mixing ½ teaspoon of apple cider vinegar and water or grind some cucumber and extract the cucumber juice to use it as a toner.
7. Moisturize And Moisturize And Moisturize
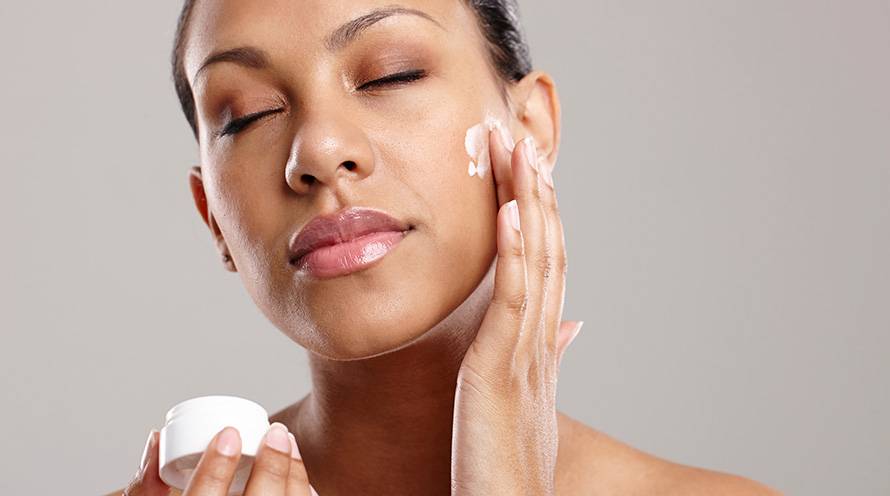
The final important step is the moisturization, which will wrap the whole thing up and without which all the previous rituals will be insufficient and deficient. As your skin is soft and supple after applying a toner, it’s time to moisturize your skin so that it remains hydrated, glowing and rejuvenated for a long time.
After all the above steps of face masking, toning and scrubbing, your skin is left without its natural oil, a moisturizer balances this out by providing the necessary moisture and hydration.
How to do it:
Get hold of some little amount of moisturizer based on your skin type, apply it evenly to the entire face and neck area, and rub gently with your fingertips in a slow circular motion to get it soaked.
Some useful tips:
Instead of a regular moisturizer, you can apply some coconut oil if your skin is excessively dry, but if your skin is oily, you can take some jojoba oil to apply to your entire face.
If you want to do a facial using a facial kit, don’t worry that’s also simple and straightforward, and you don’t need to make a frantic search for how to do facial at home with facial kit because you have only to repeat the above steps by using the given cleansers, scrubbers, face mask and moisturizer.
Frequently Asked Questions (FAQs)
For more clarification and elucidation, keep yourself moving through the following question answer session:
What are the steps of doing facial at home?
For doing a complete effective facial you have to go through seven steps which are cleansing, exfoliating, massaging, taking steam, applying face mask, toning and moisturizing.
How often should you do a facial at home?
Facial is an amazing thing to revive and replenish your face but what you should keep in your mind that excessive amount of facial will actually damage your skin so it’s highly recommended that you should do a facial only once in a month.
In which age you should do facial?
You should start doing facial after reaching the age of puberty that is almost when you will reach 14 years age of old.
How can I get an organic facial at home?
Organic facial is not only the most effective facial but it also does not cause any damage or harm for your skin. By using different natural ingredients such as milk, oatmeal, honey, lemon you can easily do your own organic facial at home.
Check Also:
- 5 Reasons Why You Should Wear A Bra
- Benefits of Padded Bras: Why Should You Wear a Padded Bra?
- Benefits of Aloe Vera For Hair & How to Use It
- 10 Best Night Creams in India For Dry Skin [Night Cream for Face]
- 11 Basic Fashion Accessories Every Woman Should Have
Conclusion
Who does not want an illuminating skin that will glitter every moment and bedazzle an onlooker’s eye? Then girl, don’t waste your time because a facial can endow you such dazzling skin which will mesmerize not only yourself but also the whole world and I believe that after going through this whole article you will master the job so competently that you don’t have to seek answers for how to do facial at home by yourself as this will be a child’s play for you.
Table of Contents
